Saturday, October 6, 2018

Patches? Sometimes you need those stinkin' patches.

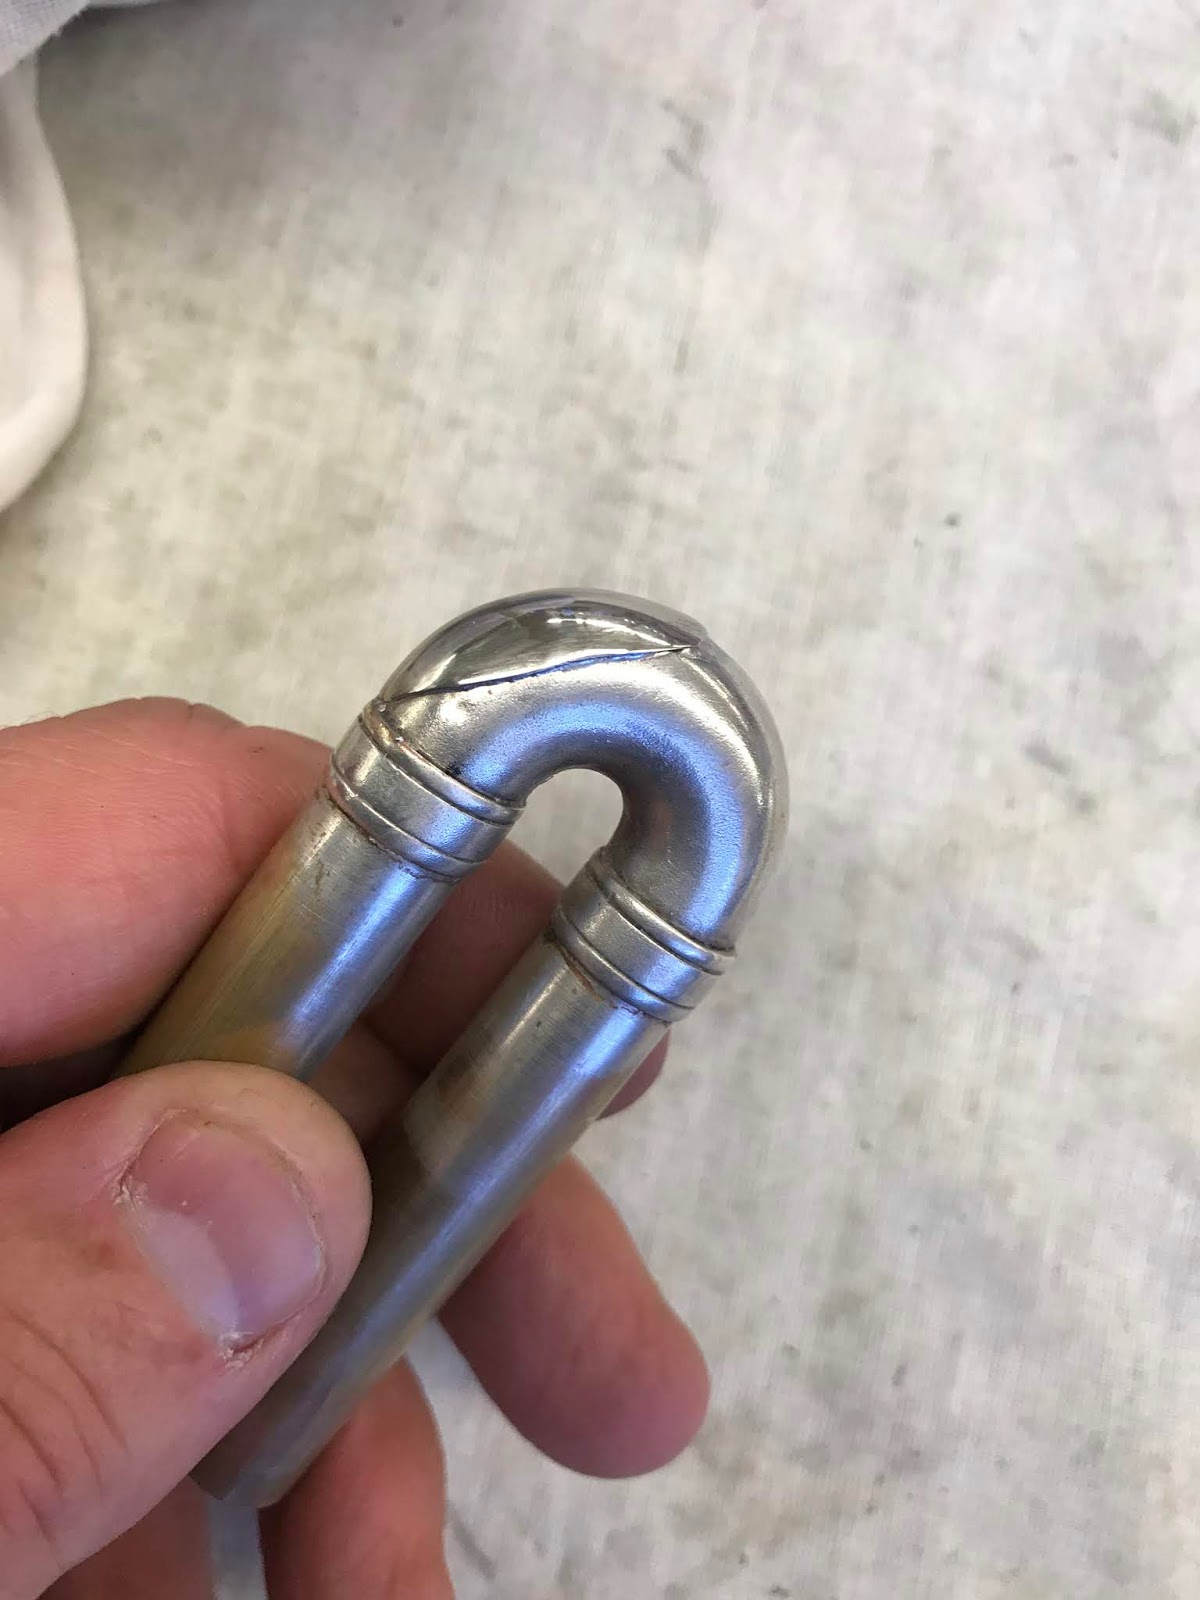
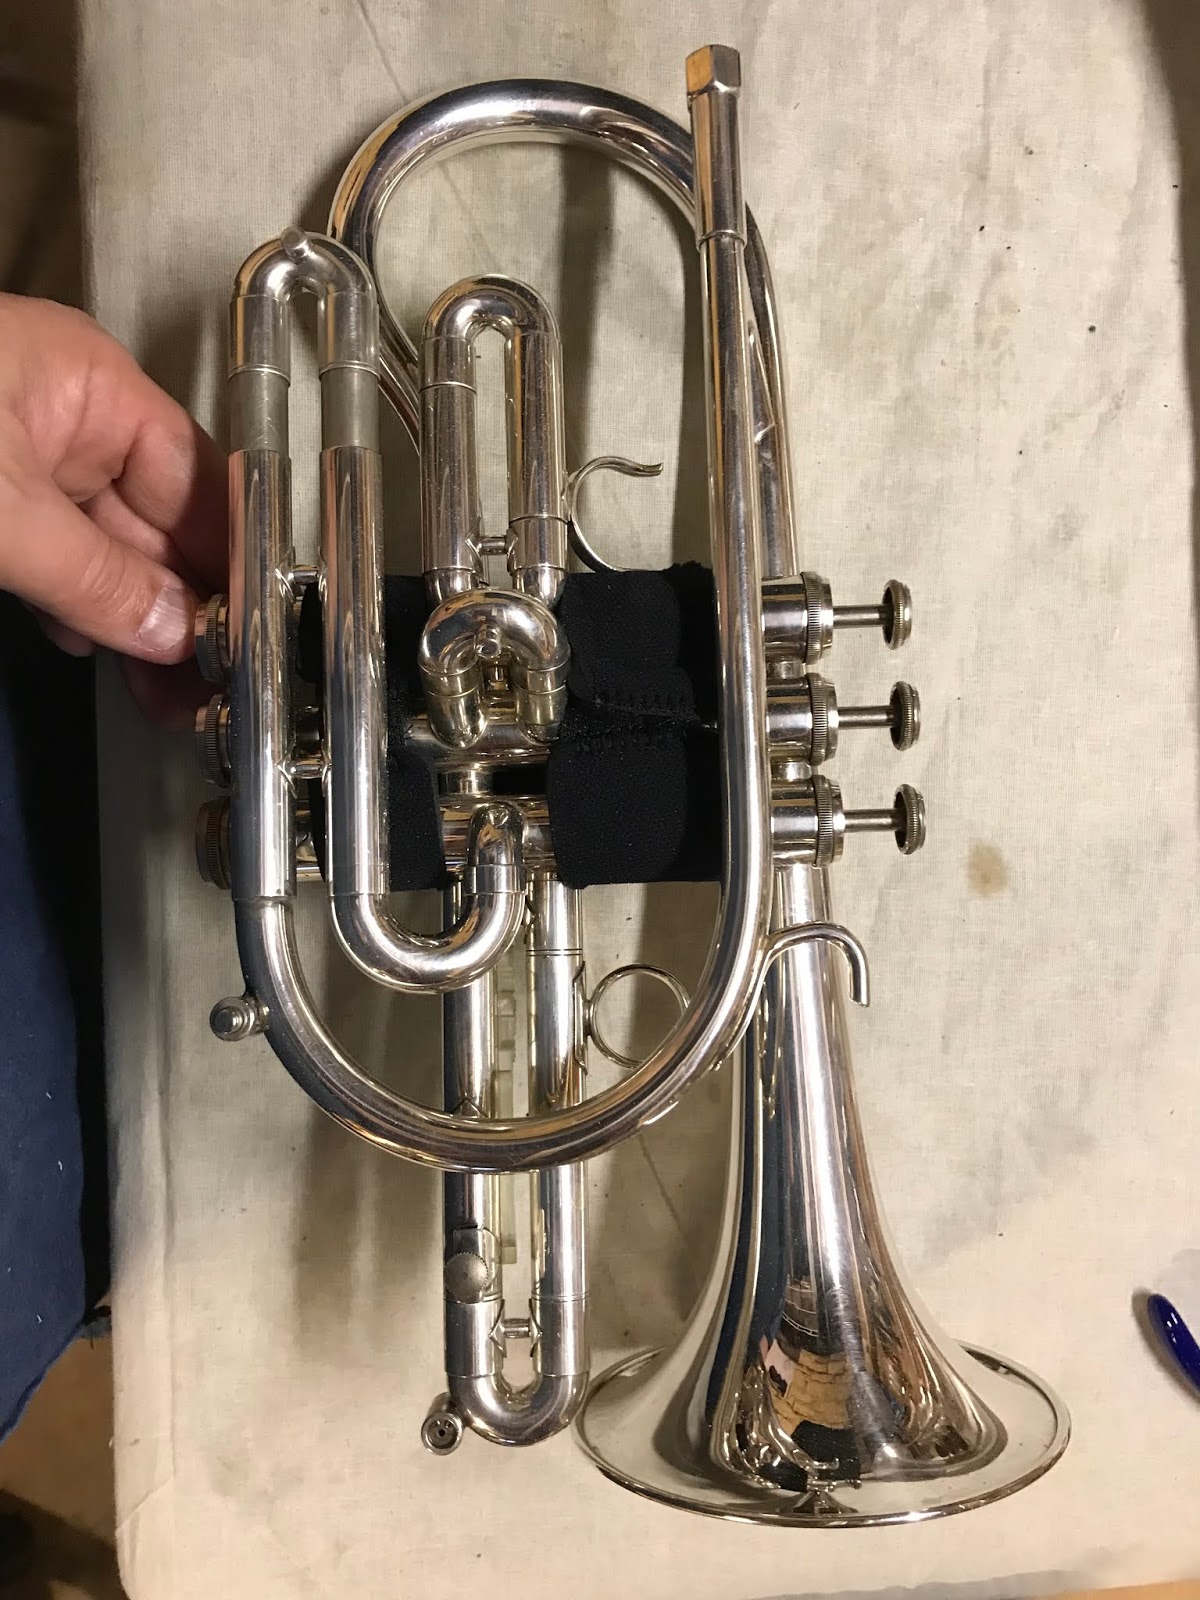
This is the third valve slide from what I believe to be an 1930ish H. N. White cornet made in Cleveland, Ohio.  The bottom of the third valve slide crook corroded and this is the hole that resulted after I picked at it with my poker.

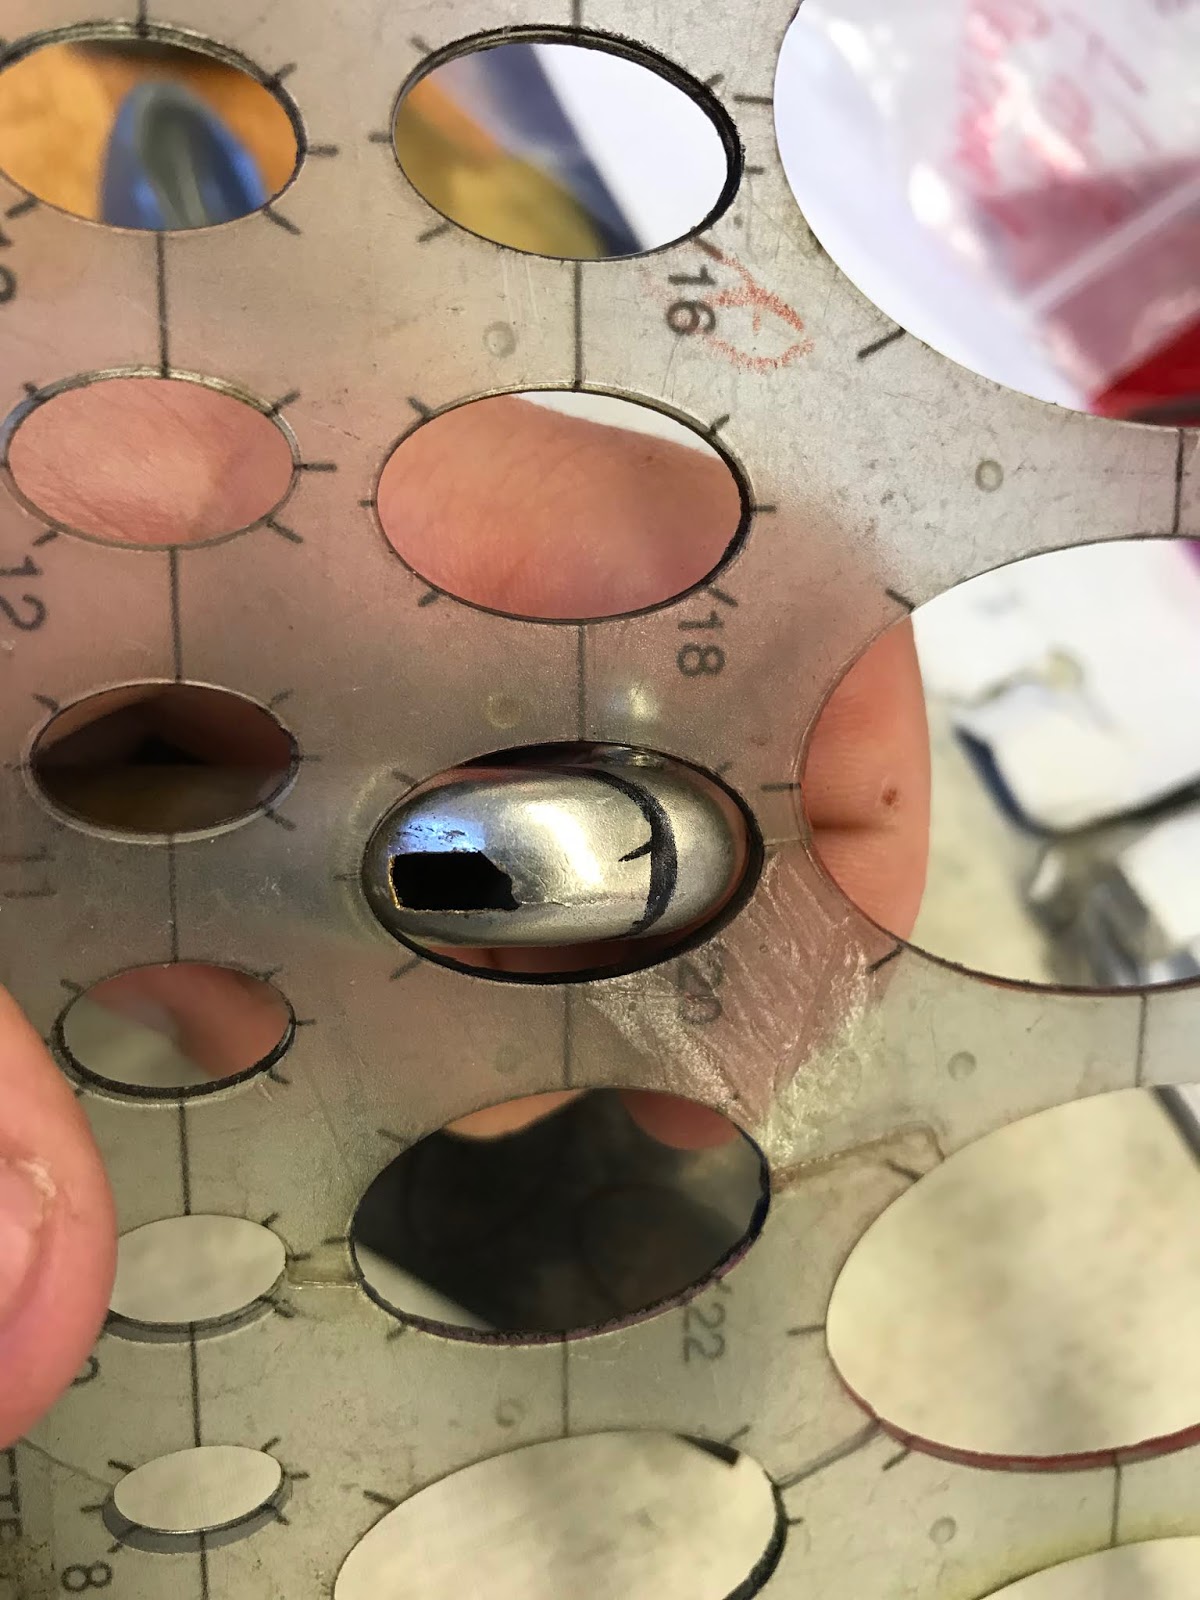
Since the finish of the instrument is satin-silver, I chose to use 0.020" nickle-silver stock sheet metal.  Nickle-Silver is harder to work with and I wanted to get the experience working with it.  Here, I am using an oval templet to measure the size of the patch I need.
After annealing the raw nickle-silver material with a torch, holding the metal at cherry red to make it pliable,  I cut two patches to have a back-up in case my first attempt failed.  I used a pair of what I was told is called "French Scissors".  They are made in Germany.  ????
Next, using microwavable putty, I created a form.  After cooling and hardening, the created mold is used in conjunction with a claw hammer to shape the nickle-silver patch to conform to the arc of the third-valve slide crook.


Before moving to the nickle-silver patches, I practiced the forming process with the molds on softer material, paper and brass.  

Here is the ruff nickle-silver patch I created with the putty moldings.  Further shaping was done with jewelers files, 400-600-crocus cloth sandpaper and yellow rouge hand buffing.

Checking for fit of final patch.


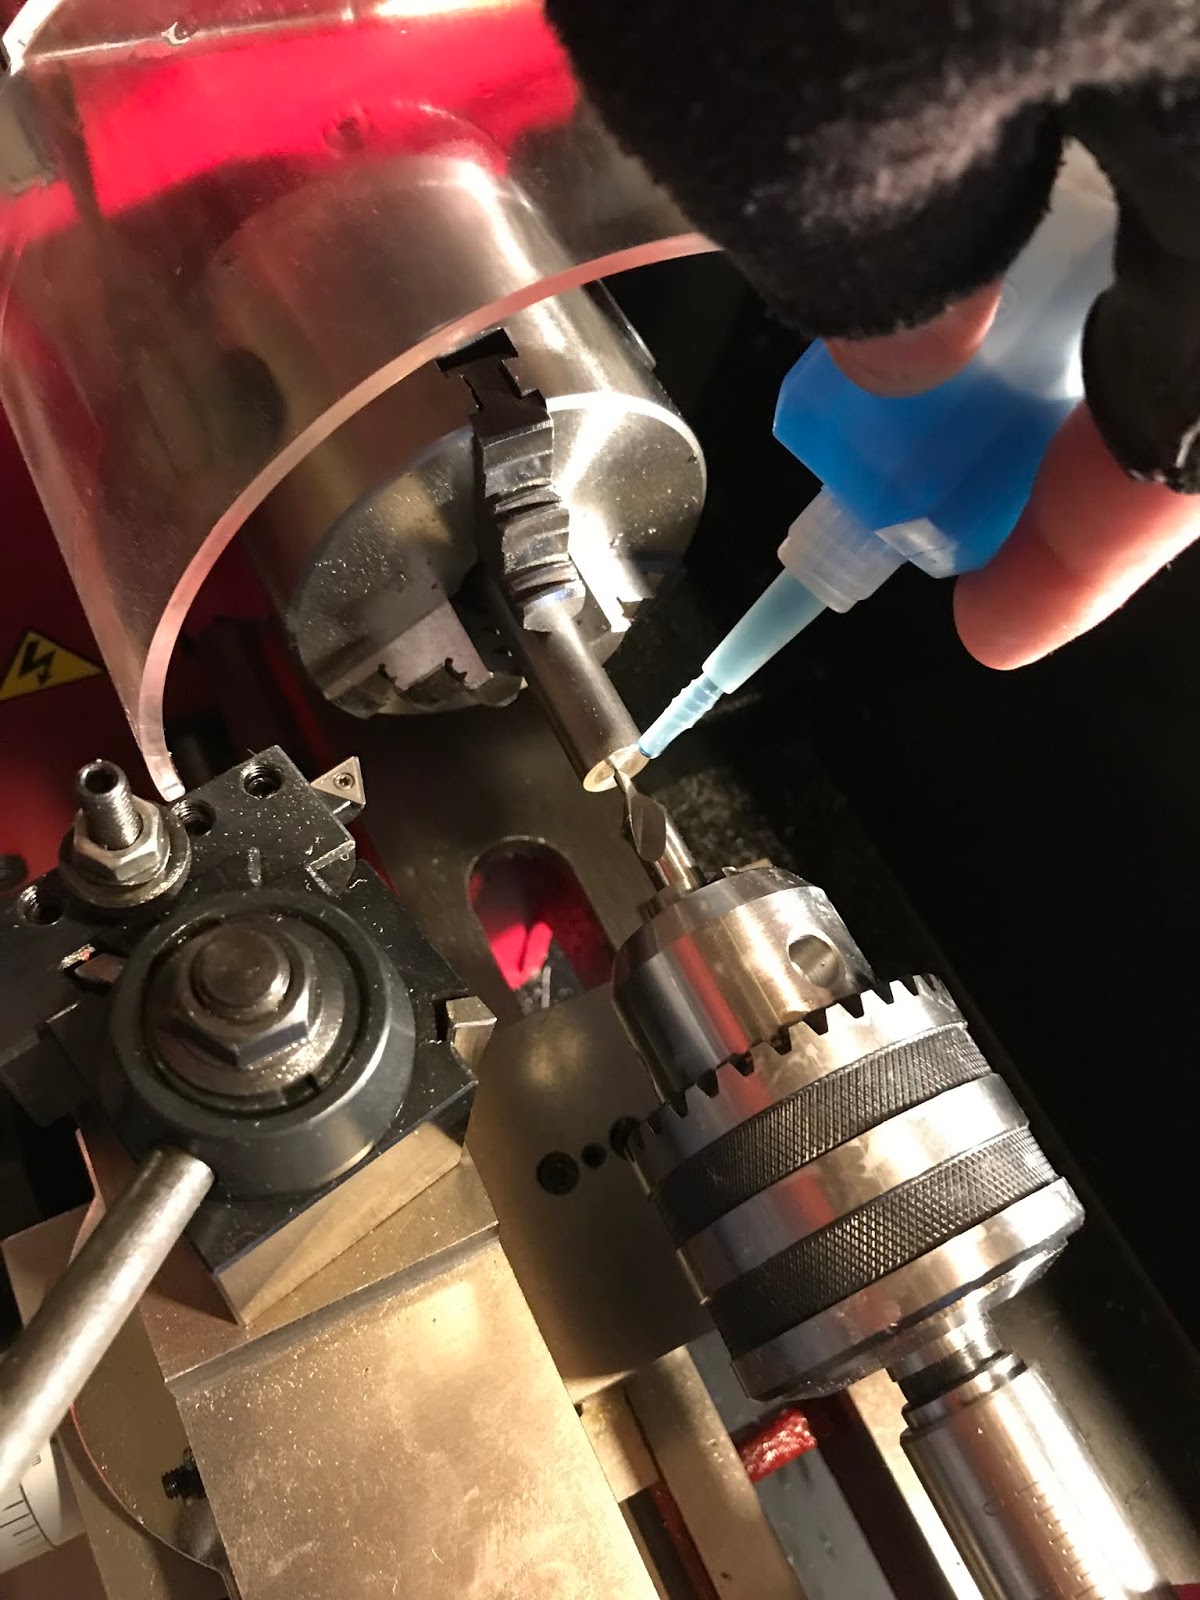
Here is the completed patch soldered onto the third valve slide crook.  I used lead free solder and I plan on matching the patch to the satin finish of the instrument.


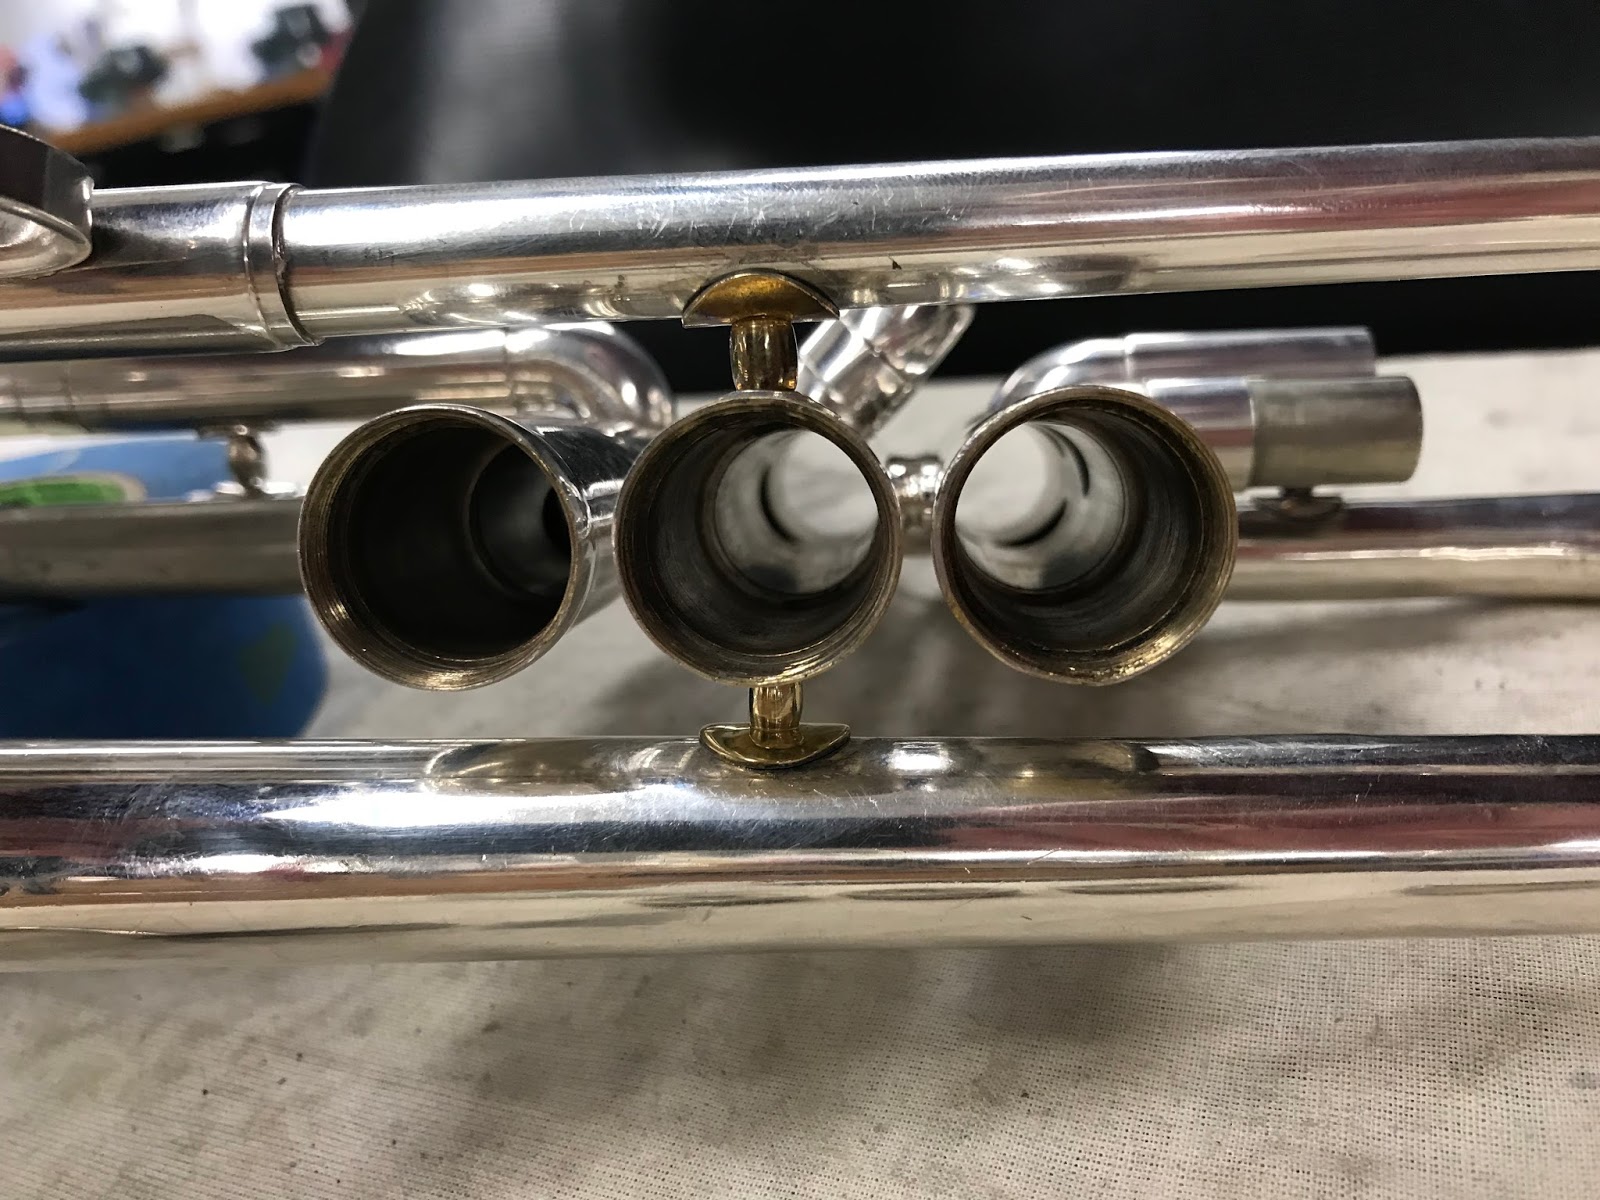
Here is the valve slide placed back on the body of the instrument.  Done!


The day after I completed the H. N. White cornet patch, I was asked to create a brass patch for a customer's Olds "Recording" trumpet.  Beautiful instrument!  Using an existing unlacquered brass crook, I use my jewelers saw to cut a patch.  Time was saved doing this because the shaping, save some fine tuning, was already completed at the factory.

Here's the worn spot on the bell knuckle.  Acids from the owners skin have eaten through the lacquer and the brass creating this pinhole.  In addition, the knuckle was dented.  I corrected the dent and reshaped the knuckle being careful not to push through the hole.  Now it's time to decide on the final shape of the patch.


Here's the final patch soldered.  I chose to use lead free solder because it has such a polished, bright silvery appearance.  I wanted the patch to complement the overall appearance of the instrument.  After some blending at the buffing wheel, I was  quiet pleased with the results.  The customer seemed to be pleased as well when he picked up the horn the next day.  


Monday, June 11, 2018

Fixing a 'slick' tunning slide.


This is my Getzen Bb 'Eterna' cornet.  I've owned this horn for about 16 years and when cleaning it I've always used a product called Penny Brite to make the inner slides of all the tuning slides all nice and shinny.  This, I've discovered was a mistake.  Especially in regards to the main tuning slide.  It has become 'slick' and exibits the same characteristics of the 1st and 3rd valve tuning slides.  Once I set the instrument in tune with an ensemble the slightest touch will push in the main slide causing me to instantly start playing quite sharp in relationship to the rest of the group.

So, using my Sieg mini lathe, a 1/2" bar of cold rolled steel and a 1/4"carbide tipped tool bit, I made a double sided mandrel.

Because the cornet is a conical bore instrument, I knew that the bottom inner slide of the main tuning slide would measure smaller than the top inner slide.  The bottom measured in at .456. 

The top measured larger than the bottom at .458.

Once I faced the end of the steel bar, I had to drill a small hole which whould accept the tip of a live center.  The live center was mounted into the quill of the tail stock.  When turning the steel, in this case, it will be extended from the chuck more than 3" so it must be supported by a live center.  Failure to do so will not adequately stabilize the piece resulting in a ruff finish and possible damage to the tool bit.  Ultimately, it's just not safe.

Here is the finished mandrel on the left.  On the right, the two handled roller I will be using to expand the diameter of the main tuning slide tubes.

Here is the mounted mandrel in my vise.  One side of the mandrel has been turned to .456 and the other to .458.  I've marked them accordingly with permanent marker to distinguish between the two.  I'd like possibly to engrave or scratch these measurements into the steal for future reference. 

Now I insert the main tuning slide onto the mandrel and apply pressure to the roller moving along the surface of the tuning slide.  This pressure between the steel rollers' surface and that of the steel mandrel causes the softer brass metal in-between to slowly expand.  The tight fit of the mandrel will ensure that the tube maintains it's roundness.  Carefully rotating the tube on the mandrel, applying equal pressure and a constant checking of the fit on the cornet's outer slide tube will ensure that the proper expansion is reached.  Thus, no more 'slick' slide!    


Thursday, May 10, 2018

DEG Signature Eb/D Trumpet Straightened

So, this instrument came from my nephew's high school.  As you can see, marching band had taken it's toll.  Out of alignment, twisted, a creased bell flare and several dents in the bell throat and bow.  The lower inner tube of the main tuning slide was fused to the outer tube and the crook of that slide was detached from the lower inner tube.  Miraculously, the valves still worked!  


We can rebuild this!  We have the technology.  We can make it play faster, higher and shine it up to make it better than it was before.


Since this instrument was to become mine, I wasn't too concerned about matching the spanner braces.  I found a few that worked, shaped them and soldered them into place.  Perhaps, at a later date when I have the knowledge and the time, I will either silver plate these or acquire the correct parts to replace them.


Had to do a little tread repair as well


Wednesday, April 11, 2018

Conn French Horn Bell Restored!

Here is a Conn French Horn with a severely damaged bell section.  This particular bell was very soft so I began by carefully messaging out some of the creases and reshaping the folds and creases back to the original flare by using a bell iron and just my arms and hands.  Remaining on the bell iron, I began to tap out the high points of the creases with a leather protected raw hide mallet.  The bell brace remained to provide support and a visual reference to restore the bells original outward angle from the main branch.   I went after some of the sharper dents with a bell roller.  I then used a variety of French horn dent rods to work out the creases and dents in the throat between the bell brace and the finger hook.  The finger hook was removed and then reattached after I completed the dent work. 

Here is the restored bell just before I reattached the finger hook.

One year later, I was presented with this same instrument. I dealt with a common repair.  Many times, horns have a liar holder on the branch of tubing coming out of the third rotor.  Perhaps, it become bent or pushed into the tube when, with liar attached, something or someone inadvertently came into contact with it.  The only solution to correcting this issue is to cut into the branch, unsolder at the rotor ferrule, remove the dents and reassemble the tube using either a lathe manufactured ferrule at the cut point or one that can be repurposed from a bone pile of parts.  In this case, I chose to do the latter because the part was available.


Saturday, February 3, 2018

Lathe project: Trombone End Plug

This is my finished product.  Made out of 3/4" diameter steel, it is a Trombone End Plug used by a technician as a sight in determining whether a trombone's inner slide tubes are bent, can help with rounding damaged inner tube ends and supports the tube end when straightening.  Follow this link to discover more:   https://youtu.be/jnfog8DKfwE 


Here's a pic of me at the lathe creating the before mentioned tool.  After seeing this video, I realized that I broke a very important safety rule.  My sleeves should be rolled up to prevent any entanglement with the rotating lathe chuck.  

Throat Roller Project

This is the supplies list we were given.  We students purchased the items needed.  Individually, we would follow the process shown to us by this BIR You Tube link: https://youtu.be/DxQU3VmeSDk?list=WL and a page of written instructions.  
Here is my finished product.  I used purple pvc because The Minnesota Vikings almost made it to Super Bowl LII, the Super Bowl Game is being held in Minneapolis and it's a nice reminder of my beginnings as a Instrument Repair Tech in the BIR program at Southeast Technical in Red Wing.

Lathe work: Brass Valve Caps