Saturday, December 28, 2019

Some daily repairs at Music and Arts, Guitar Center Distribution Center, Brownsburg, Indiana


Here are some of the basic tools I used in repairing the two trombone tuning crooks in the previous two videos.


Here is an extraction of the tip of a cleaning snake and the drilling of a water key hole on a Blessing French Horn in F.


Play conditioning a student trombone.


Reattaching a detached trumpet mouthpipe.

I had to disassemble in order to straighten the s-braces.

As I was disassembling, the upper inner tube of the main tuning slide detached from the crook revealing a broken solder joint.  It was like an old house, a surprise around every corner and behind every wall:-)


Here's another rattled trumpet that came across my bench.  Bent and twisted, detached s-braces and a snapped bell-to-second-casing cross brace.


Here is some dent work I did on a student trumpet who's operator obviously wanted to play drums:-)


Crinkled bell throat smoothened.


Sunday, March 31, 2019

Saturday, February 23, 2019

Leak Light for Woodwind repair made in class.


Making a Trumpet Mouth Pipe

After the 'brass tube to be mouth pipe' has been annealed (heated to make brass tube pliable) and the proper steel mandrel has been chosen, the steel mandrel is lubed with Murphy's Oil soap.

The steel mandrel is inserted into the brass tube.

Now that the 'brass tube to be mouth pipe' has the steel mandrel inserted into it, it's time to lube the outside of the brass tube with more a coating of Murphy's Oil Soap.


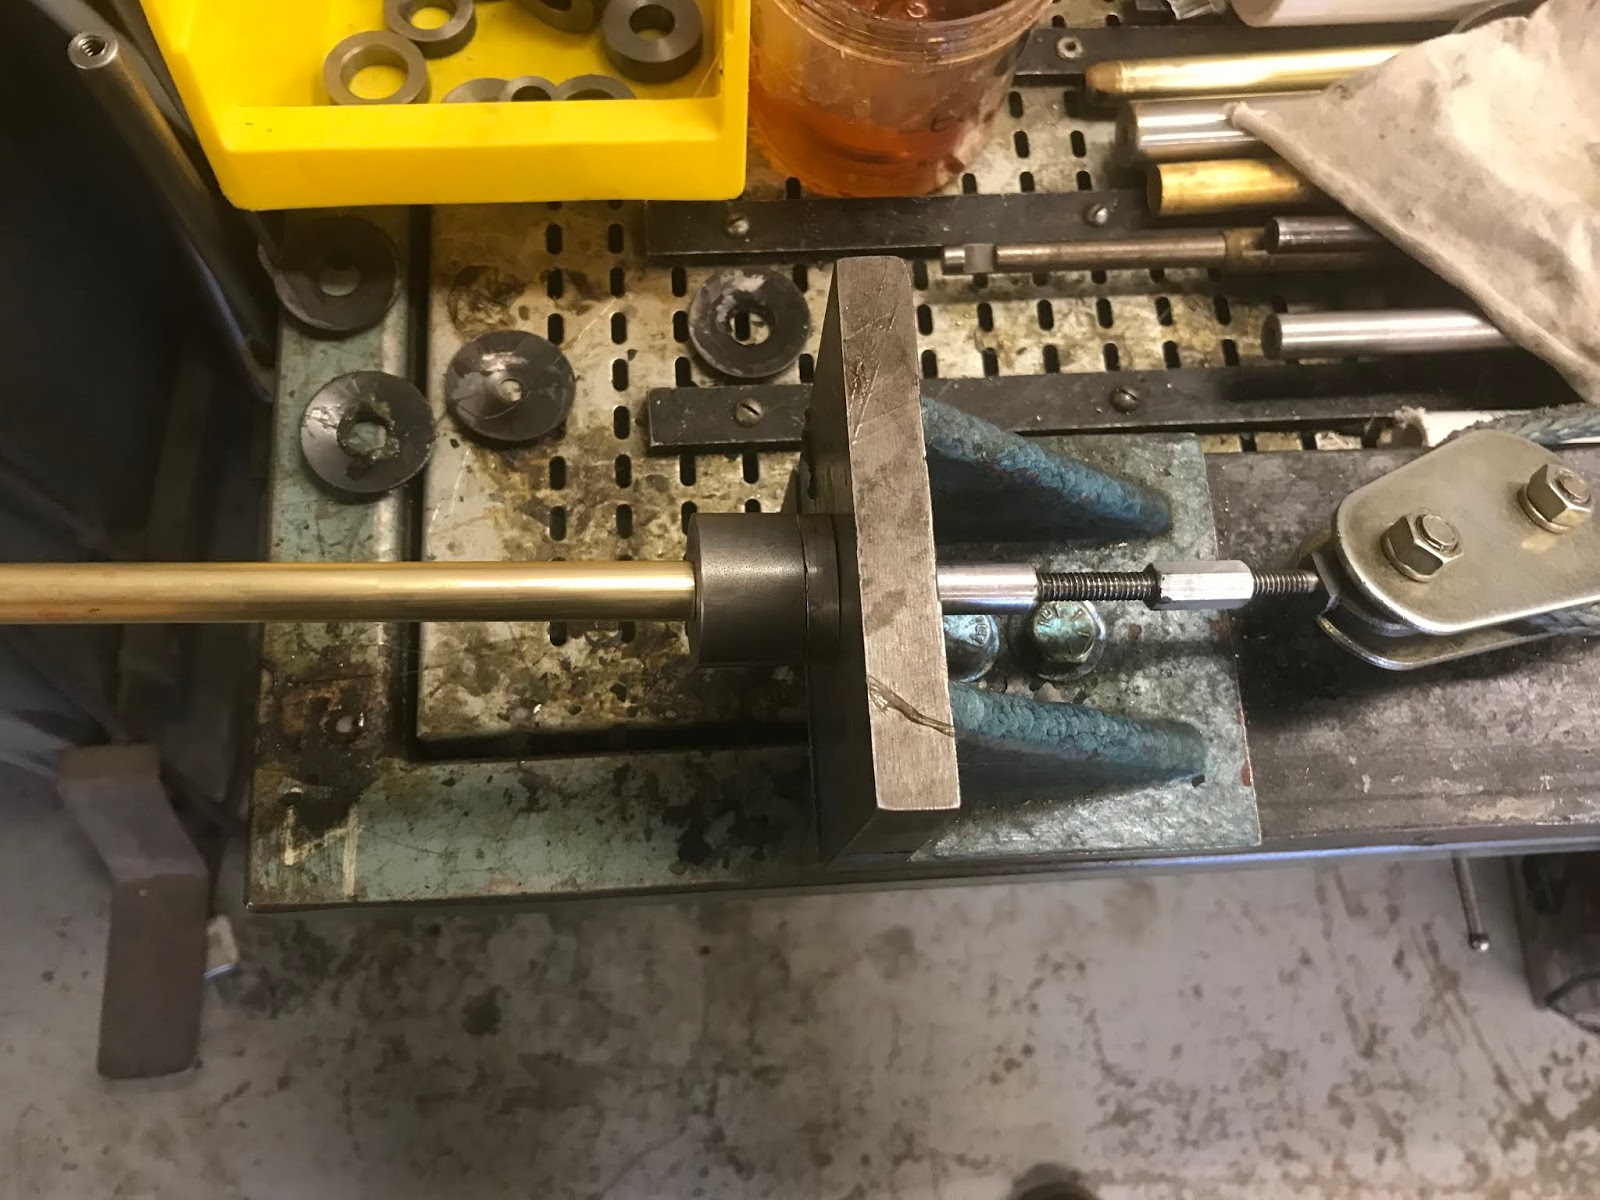
Ready for tube drawing on the Draw Bench.

Now using the Draw Bench and a steel cylinder, we separate the tube from the steel mandrel.


My Woodwind Lab Work Space Fall Semester 2018-19


Tuesday, December 11, 2018

Yamaha YAS-23 Low Eb Key

This is my cousin's Yamaha YAS-23 Alto Saxophone.  The Eb tone hole on this instrument had accumulated some corrosion on the outer and inner surfaces.  The key cup was bent and the leather pad was cracked and damaged due to accumulation of condensation.  In fact, moisture had made it's way behind the pad causing the pad adhesive to fail.  

I first needed to remove the lacquer from the infected area using the pictured product purchased at a local car parts store.  

Here is the paint remover doing it's job.

And again with better lighting.

I removed the now loose lacquer with a wet rag.  Next, I hand sanded the area with a regiment of 400, 600grit sand paper to remove the corrosion and then blended in the surrounding lacquered area with finer Crocus Cloth.  Once I was satisfied with the results, I used a Dremel Tool, a 2" diameter buffing wheel with yellow rough to bring the sanded area up to a shine and to complete the sanding/blending process.  Once degreased, I taped the surrounding area with blue painters tape as needed and went to the lacquer booth to spray lacquer the repaired area.
Here is the finished repair.
I chose a new pad, glued it into the pad cup and tried to level it.  After many attempts I determined that the tone hole must not be level.  I used a steel disk to determine that indeed the tone hole was not level.  In order to level the tone hole, I used a customized knuckle dent rod and an appropriate sized dent ball in conjunction with a set of tools from, I believe, Ferree's Tool Company.  


This metal, half circle protects the top of the tone hole while providing a surface against which to leverage the dent rod and allow the technician to apply upward force against the bottom of the tone hole thus raising the low points of the tone hole.  I then frequently check my progress with a flat metal disc placed on top of the tone hole to check for evenness.  

Making sure the pad cup is level.

Reassembled!


Lathe work: Brass Valve Caps