Saturday, October 27, 2018

Construction of a Casing to Bell Cross Brace

First, I examine some samples of braces and their construction.  What materials are needed and the process used for their assembly.


Now it's time to fabricate new parts from the old. This old flange, because it is plated, will not silver solder to the other components.   

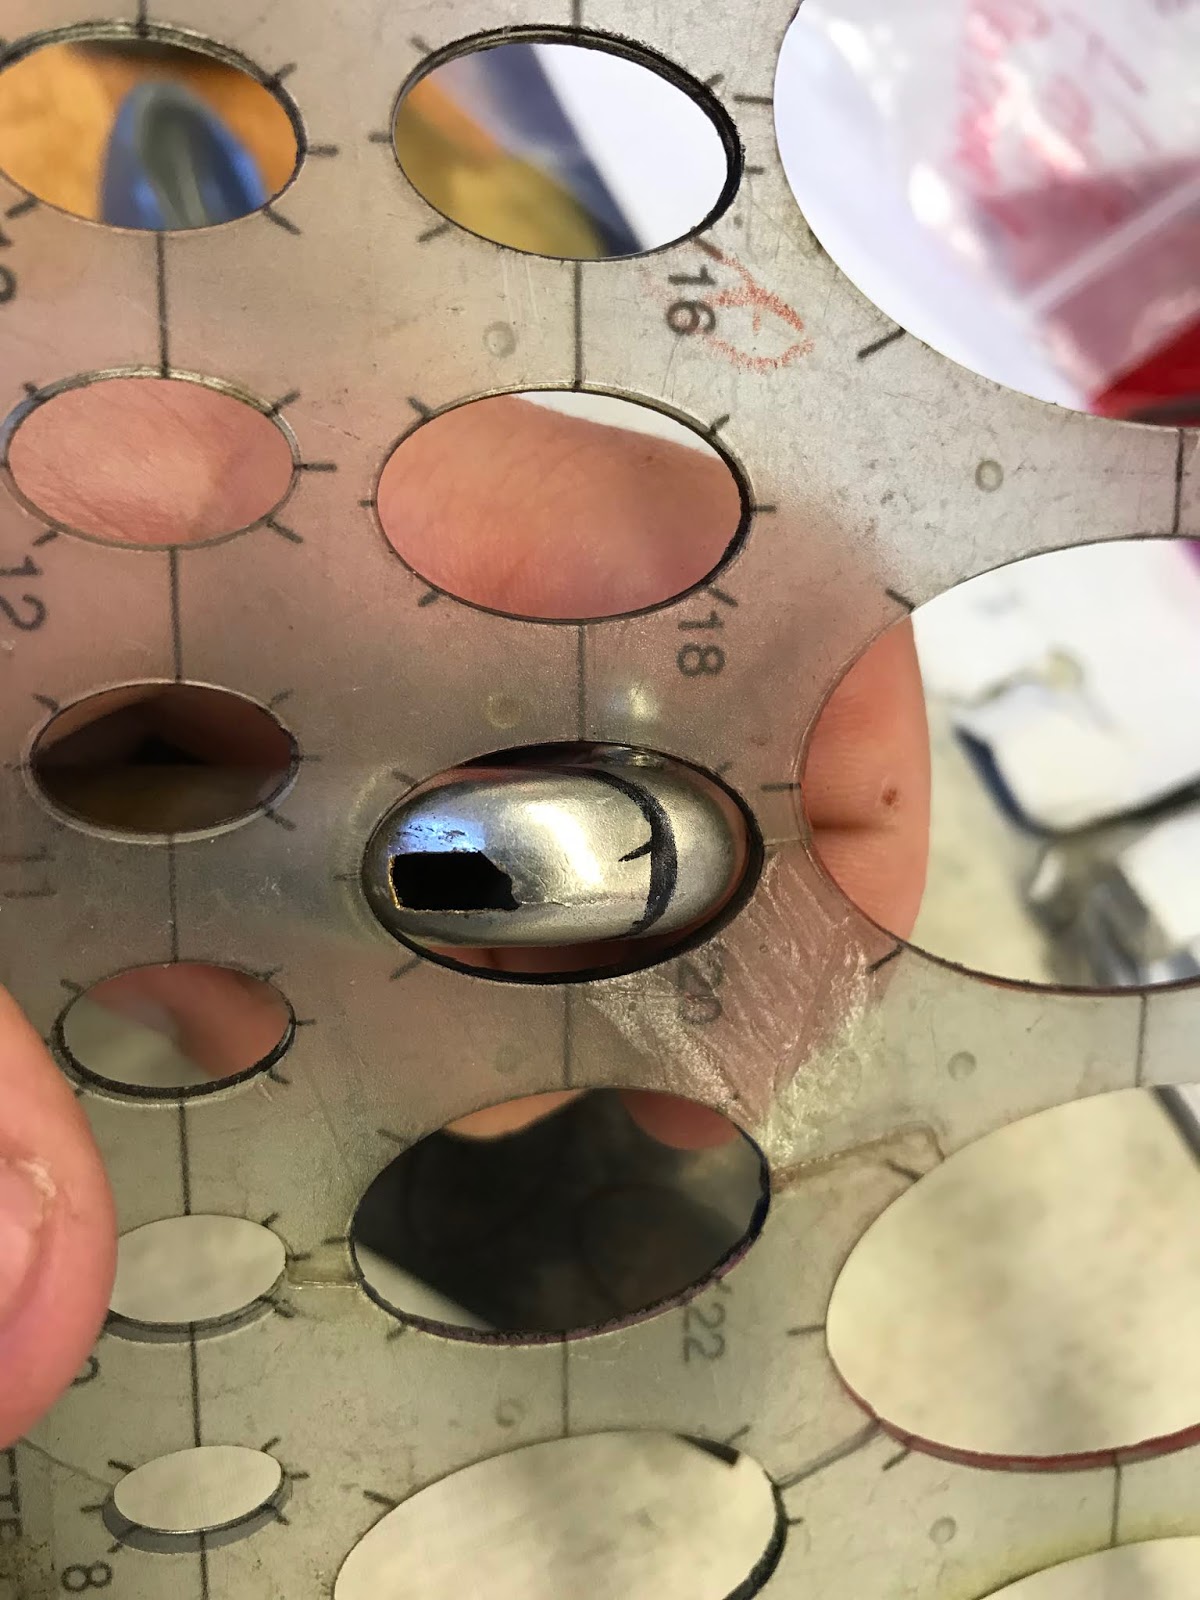
Here are my two new flanges, the appropriate brass screw and washer needed and the 1/8" brass rod from which I will fabricate a tube which will span between the two flanges.  


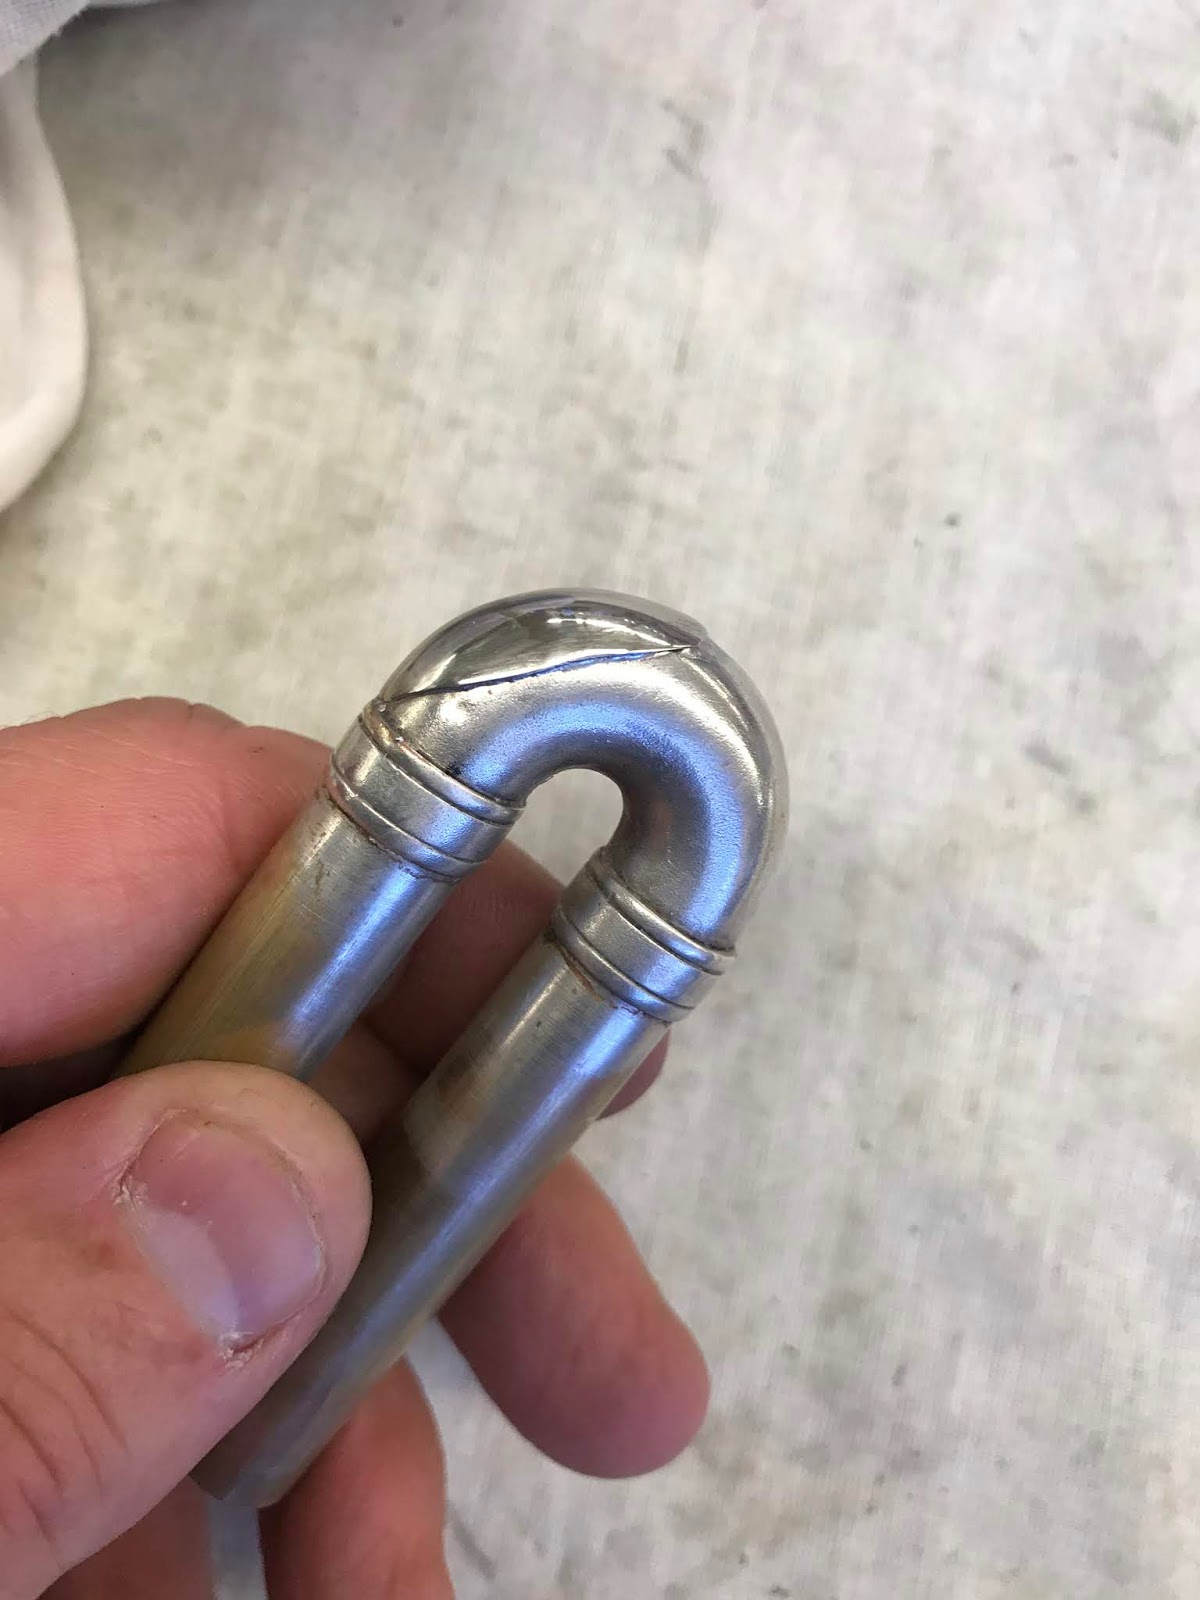
Lathe time creating the expansion tube.

Here are all my parts ready to be assembled.


After I attach the brass washer, I took this assembly over to the soldering jig, set it up and silver soldered it together.


After the silver soldering process, I took the new cross brace to my bench motor to remove the washer and screw head stubs thus creating the smooth, contoured inner surface so that each flange can be shaped to the casing body or bell throat surface.


Now it's time to shape each flange to the contours of the bell and casing.  After soft soldering the cross brace into place, it will be plated using the Caswell Electroplating System.  Since this cornet has a satin brass finish, it should be easy to scratch it's newly plated finish to blend into the existing finish.


Finished product!  Can you tell which brace I replaced?


Saturday, October 6, 2018

Patches? Sometimes you need those stinkin' patches.

This is the third valve slide from what I believe to be an 1930ish H. N. White cornet made in Cleveland, Ohio.  The bottom of the third valve slide crook corroded and this is the hole that resulted after I picked at it with my poker.

Since the finish of the instrument is satin-silver, I chose to use 0.020" nickle-silver stock sheet metal.  Nickle-Silver is harder to work with and I wanted to get the experience working with it.  Here, I am using an oval templet to measure the size of the patch I need.
After annealing the raw nickle-silver material with a torch, holding the metal at cherry red to make it pliable,  I cut two patches to have a back-up in case my first attempt failed.  I used a pair of what I was told is called "French Scissors".  They are made in Germany.  ????
Next, using microwavable putty, I created a form.  After cooling and hardening, the created mold is used in conjunction with a claw hammer to shape the nickle-silver patch to conform to the arc of the third-valve slide crook.


Before moving to the nickle-silver patches, I practiced the forming process with the molds on softer material, paper and brass.  

Here is the ruff nickle-silver patch I created with the putty moldings.  Further shaping was done with jewelers files, 400-600-crocus cloth sandpaper and yellow rouge hand buffing.

Checking for fit of final patch.


Here is the completed patch soldered onto the third valve slide crook.  I used lead free solder and I plan on matching the patch to the satin finish of the instrument.


Here is the valve slide placed back on the body of the instrument.  Done!


The day after I completed the H. N. White cornet patch, I was asked to create a brass patch for a customer's Olds "Recording" trumpet.  Beautiful instrument!  Using an existing unlacquered brass crook, I use my jewelers saw to cut a patch.  Time was saved doing this because the shaping, save some fine tuning, was already completed at the factory.

Here's the worn spot on the bell knuckle.  Acids from the owners skin have eaten through the lacquer and the brass creating this pinhole.  In addition, the knuckle was dented.  I corrected the dent and reshaped the knuckle being careful not to push through the hole.  Now it's time to decide on the final shape of the patch.


Here's the final patch soldered.  I chose to use lead free solder because it has such a polished, bright silvery appearance.  I wanted the patch to complement the overall appearance of the instrument.  After some blending at the buffing wheel, I was  quiet pleased with the results.  The customer seemed to be pleased as well when he picked up the horn the next day.  


Lathe work: Brass Valve Caps