Tuesday, December 11, 2018

Yamaha YAS-23 Low Eb Key

This is my cousin's Yamaha YAS-23 Alto Saxophone.  The Eb tone hole on this instrument had accumulated some corrosion on the outer and inner surfaces.  The key cup was bent and the leather pad was cracked and damaged due to accumulation of condensation.  In fact, moisture had made it's way behind the pad causing the pad adhesive to fail.  

I first needed to remove the lacquer from the infected area using the pictured product purchased at a local car parts store.  

Here is the paint remover doing it's job.

And again with better lighting.

I removed the now loose lacquer with a wet rag.  Next, I hand sanded the area with a regiment of 400, 600grit sand paper to remove the corrosion and then blended in the surrounding lacquered area with finer Crocus Cloth.  Once I was satisfied with the results, I used a Dremel Tool, a 2" diameter buffing wheel with yellow rough to bring the sanded area up to a shine and to complete the sanding/blending process.  Once degreased, I taped the surrounding area with blue painters tape as needed and went to the lacquer booth to spray lacquer the repaired area.
Here is the finished repair.
I chose a new pad, glued it into the pad cup and tried to level it.  After many attempts I determined that the tone hole must not be level.  I used a steel disk to determine that indeed the tone hole was not level.  In order to level the tone hole, I used a customized knuckle dent rod and an appropriate sized dent ball in conjunction with a set of tools from, I believe, Ferree's Tool Company.  


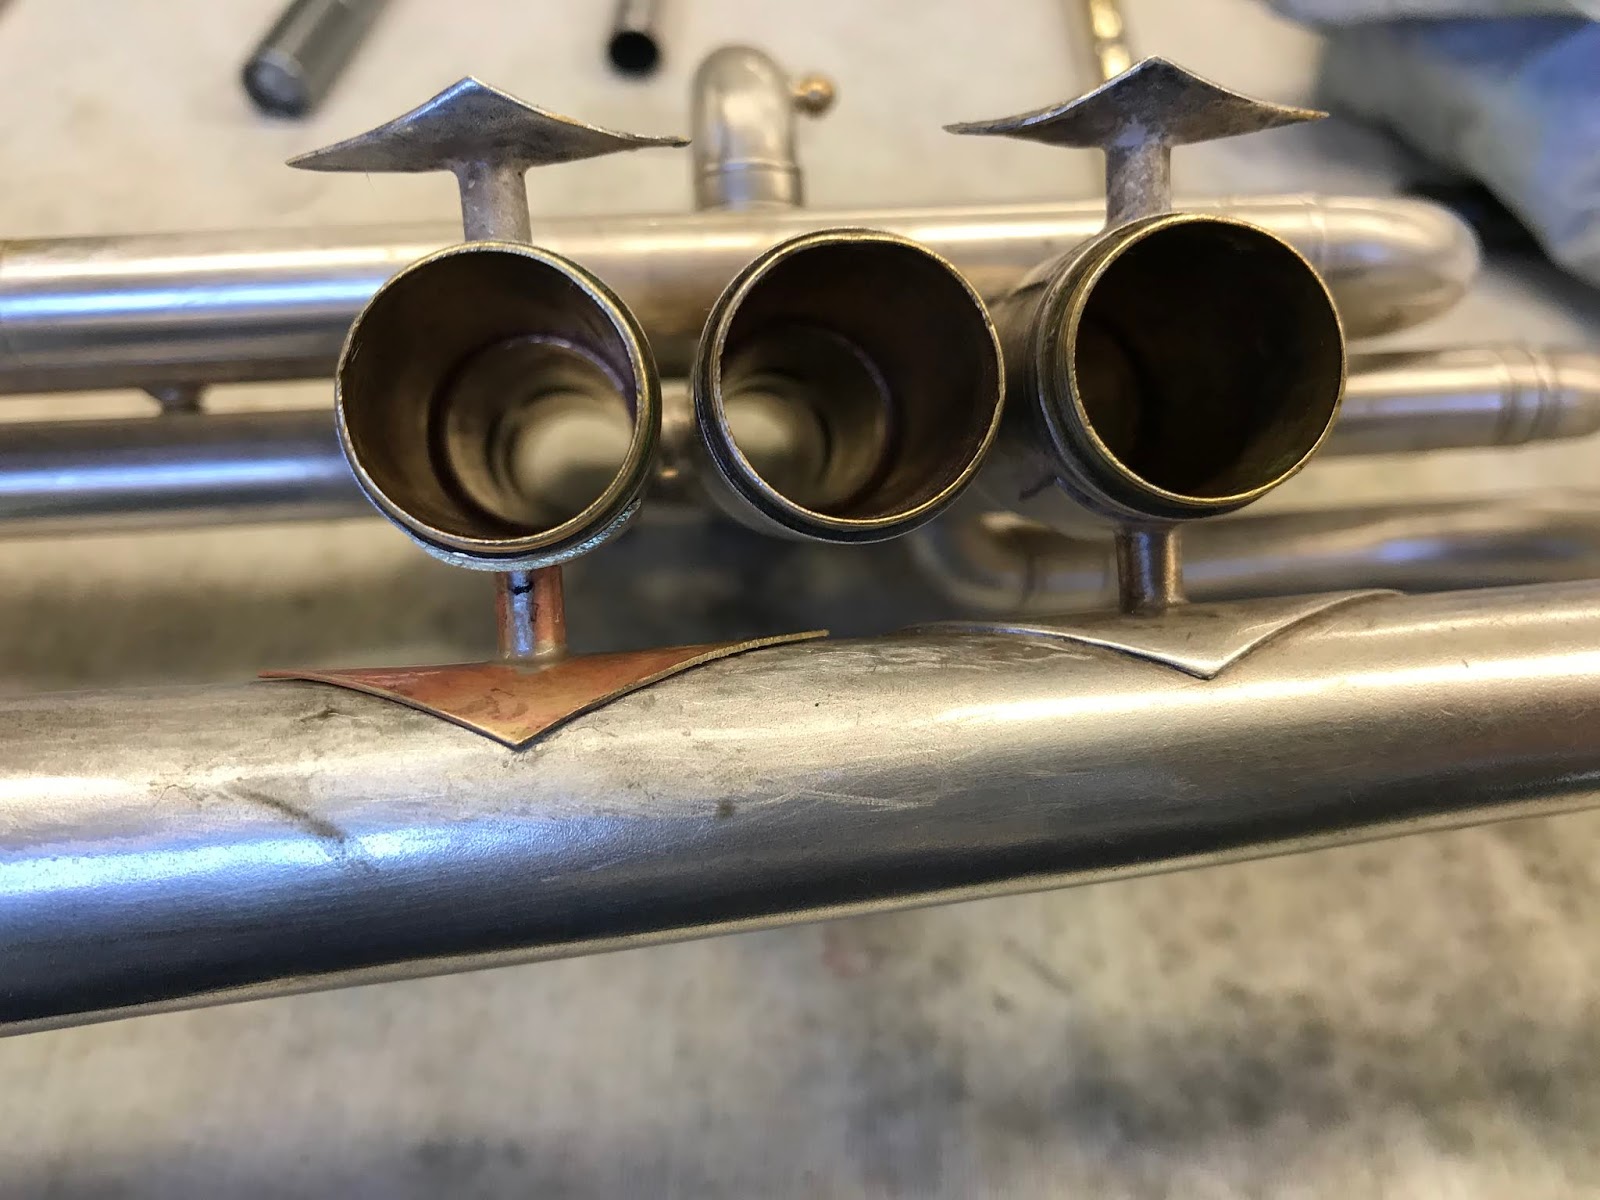
This metal, half circle protects the top of the tone hole while providing a surface against which to leverage the dent rod and allow the technician to apply upward force against the bottom of the tone hole thus raising the low points of the tone hole.  I then frequently check my progress with a flat metal disc placed on top of the tone hole to check for evenness.  

Making sure the pad cup is level.

Reassembled!


Saturday, November 10, 2018

My Personal-Time Hobby


I love scroll sawing!  This I completed in the winter of 2016 in my Lakewood, Ohio basement workshop.  It is a miniture Grandmother's clock.  Plans were taken from a woodworking magazine I inherited from my Father(deceased 2005).  I used cherry and tiger maple.


I needed a shelf on which to display my miniature Grandmother's Clock.  Since the clock is pretty ornate, I wanted something simple.  After searching through a couple of pattern books, I chose this shelf.


This shelf is a little fancier!

I decided that I did not need this china cabinet any longer.  However, several pieces of this cabinet I used to create some things that I did need.  What follows are some of those creations. 
My benchtop tool caddy at Red Wing.


This handle was fashioned out of two of the drawer faces glued together, cut to general shape and then, with an orbital sander, rounded to accept a hand's grip.

The wine rack became first a notebook holder and then a tool holder for my metal lathe.


Here is an flute/clarinet rack for the benchtop.
The cupboard doors became the Easter Story.  Here is The Crucifixion

Here is Death, Resurrection and Ascension 


I do love model railroading!  Until I settle in a place where I can have a permanent layout, I decided to put  that hobby aside for woodworking.  I'm creating things I can use and display in my living space.  Things that can be packed up and moved more easily than a train layout.  This clock and the following two were created using plywood from my former train layout.  The clock faces were my Dad's.  I think I made the clocks he had planned to complete. 


Saturday, October 27, 2018

Construction of a Casing to Bell Cross Brace

First, I examine some samples of braces and their construction.  What materials are needed and the process used for their assembly.


Now it's time to fabricate new parts from the old. This old flange, because it is plated, will not silver solder to the other components.   

Here are my two new flanges, the appropriate brass screw and washer needed and the 1/8" brass rod from which I will fabricate a tube which will span between the two flanges.  


Lathe time creating the expansion tube.

Here are all my parts ready to be assembled.


After I attach the brass washer, I took this assembly over to the soldering jig, set it up and silver soldered it together.


After the silver soldering process, I took the new cross brace to my bench motor to remove the washer and screw head stubs thus creating the smooth, contoured inner surface so that each flange can be shaped to the casing body or bell throat surface.


Now it's time to shape each flange to the contours of the bell and casing.  After soft soldering the cross brace into place, it will be plated using the Caswell Electroplating System.  Since this cornet has a satin brass finish, it should be easy to scratch it's newly plated finish to blend into the existing finish.


Finished product!  Can you tell which brace I replaced?


Lathe work: Brass Valve Caps